
Key Points:
- JP drain therapy supports healing by removing fluid, reducing swelling, and preventing infection after surgery.
- Most drains stay in for 7–14 days, with removal often considered when output drops below 30 mL in 24 hours.
- Daily care, like cleaning, logging, and securing the bulb, helps avoid complications and ensures a safe recovery.
Post-op drains can feel like one more thing to manage when you just want to heal. Jackson-Pratt drains collect fluid so swelling and leaks do not slow recovery. Clear steps make home care less stressful and help you know what to watch.
Below, find an easy routine, safety checks, and answers to common questions about JP drain care at home, emptying the bulb, dressing care, and removal timing.
What Is a JP Drain and Why Is It Used?
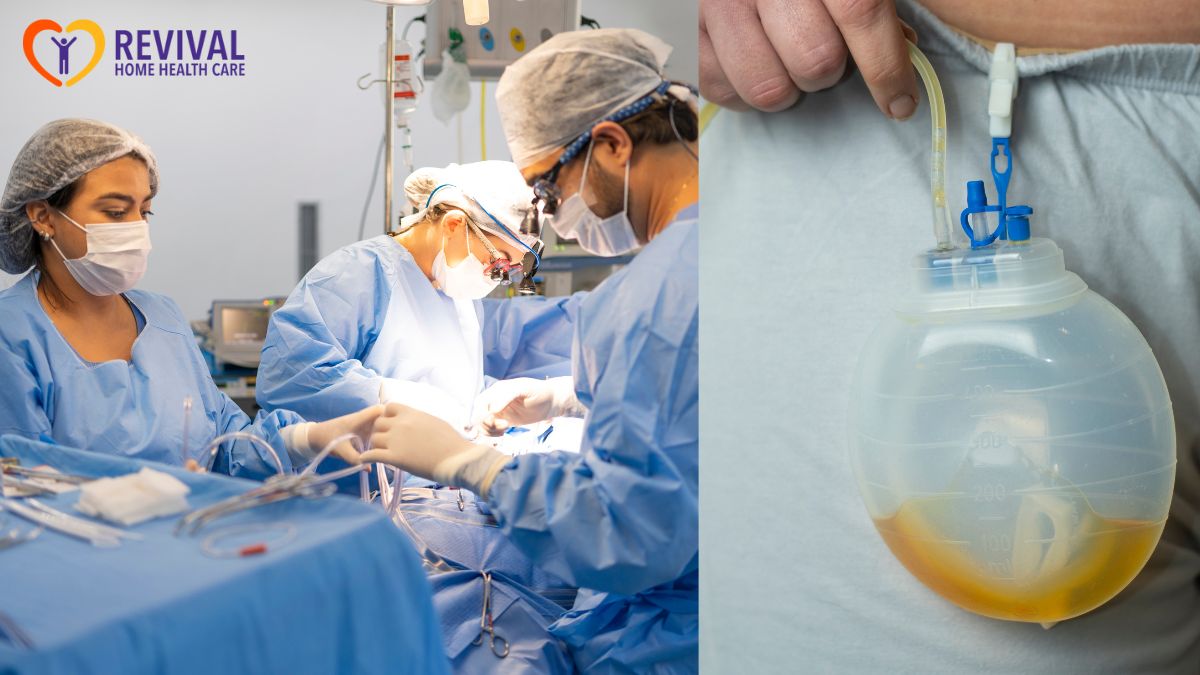
A Jackson-Pratt (JP) drain uses gentle suction to pull fluid from the surgical area into a small bulb. The goal is less swelling, fewer fluid pockets, and better wound healing. JP drain care instructions focus on keeping suction, protecting the skin at the insertion site, and tracking output once or twice daily.
Surgical site infections remain a real risk after procedures. National data note that about 1 in 31 U.S. inpatients has a healthcare-associated infection on any given day, which includes wound infections. Clean hands, clean supplies, and a dry bandage cut that risk, and wound care at home supports safer healing.
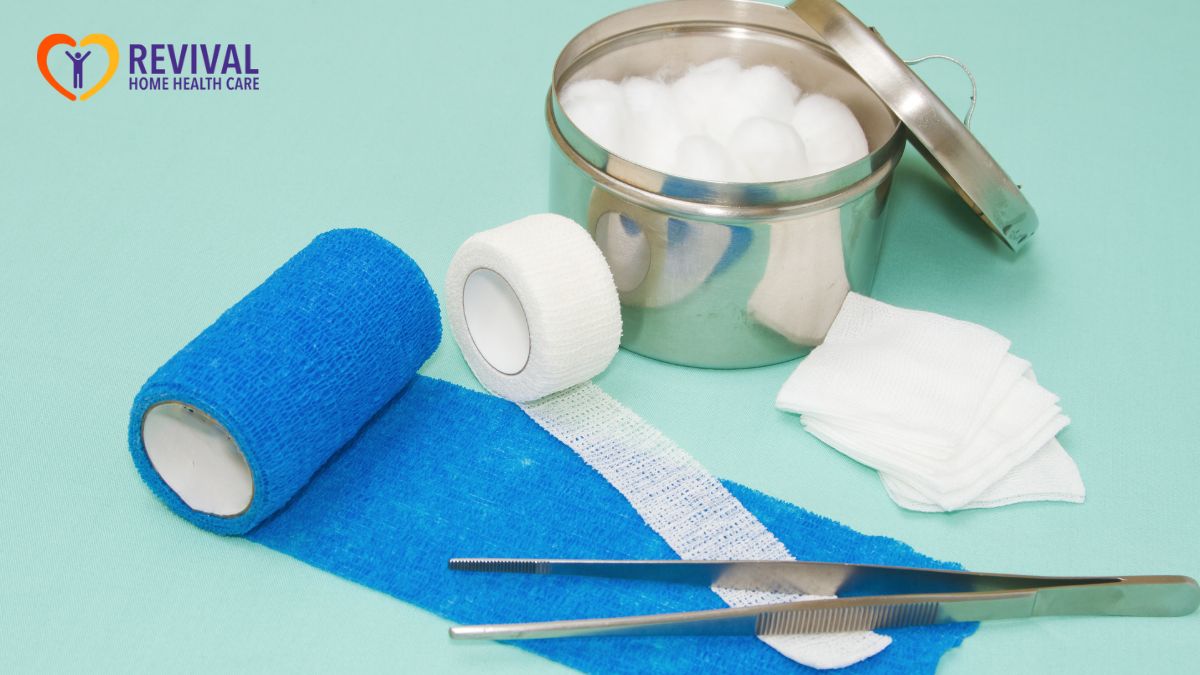
A simple home setup helps. Place a clean container, alcohol pads, gauze, surgical tape, and a log sheet in one spot.
Quick essentials
- Clean hands first. Use soap and water for 20 seconds or sanitizer until dry.
- Keep the bulb lower than the incision, and telehealth services can help confirm placement during virtual check-ins.
- Secure the bulb. Clip it to clothing or a lanyard pouch so it does not tug on the tubing.
JP Drain Care at Home: Daily Routine That Prevents Problems
JP drain care at home follows the same rhythm each day. The routine centers on emptying the bulb, restoring suction, and logging the amount and color. It’s recommended to empty it in the morning and evening or any time the bulb is half full.
Daily steps
- Wash hands. Do this before any drain task and again when finished.
- Milk the tubing if instructed. Gentle “stripping” helps move small clots toward the bulb so drainage keeps flowing.
- Open, empty, and measure. Unplug the stopper, pour fluid into a clean cup, and write down mL and color.
- Re-create suction. Squeeze the bulb flat and re-plug while compressed so it slowly expands as it collects fluid.
- Check the skin. Look for redness bigger than a dime, warmth, thick drainage, or a bad odor.
- Secure the bulb. Attach it to clothing; do not let it dangle.
Bandage care
- Change the dressing daily or when wet. Keep the area clean and dry with gauze and tape.
- Shower rules. Many centers allow gentle showering once approved, but no tub soaking until the incision fully closes.
A recent CDC progress report highlights that healthcare-associated infections still occur in hospitals and nursing homes, reinforcing the value of consistent home care after discharge. Clean technique and early symptom checks help prevent setbacks.
 How Do I Empty and Measure the JP Bulb Correctly?
Jackson-Pratt drain care instructions emphasize accurate measurement, and in-home nursing care covers output logs, trends, and device checks. Many surgeons consider removal when total output decreases to low levels over 24 hours, though the exact cutoff comes from your team.
Empty and measure
- Open and pour. Unplug the stopper, turn the bulb over the measuring cup, and gently squeeze.
- Record totals. Log the mL and color for each drain separately every day. Do not combine numbers if you have more than one drain.
- Restore suction. Squeeze the bulb flat, then replug to maintain gentle suction.
Call your provider when 24-hour output reaches around 30 mL, since some surgeons consider removal at that point while others wait longer depending on the procedure.
A large U.S. safety primer estimates surgical site infections occur in about 2% to 4% of inpatient surgical procedures, which is why careful drain handling and skin checks add value during recovery.
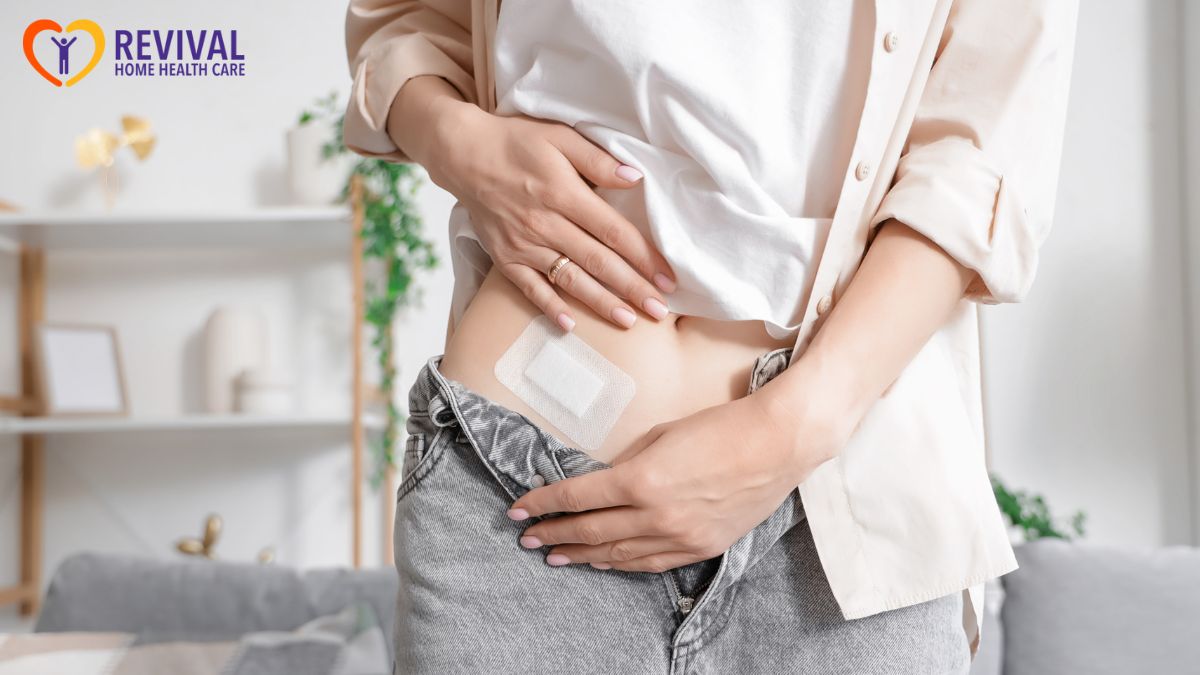
Dressing Changes, Bathing, Clothes, and Sleep
Many hospital guides recommend a daily dressing change or sooner if damp or soiled. Clean the skin with soap and water, pat dry, and apply fresh gauze and tape.
Bathing and clothes
- Skip soaking. No baths, hot tubs, or pools until your surgeon clears immersion. Showers are usually fine once approved.
- Wear loose tops. Soft shirts that open in front make space for bulbs and clips.
- Use a belt bag or lanyard. Keep the bulb supported and below the incision during the day.
Sleep tips
- Position for comfort. Many people place the bulb at the side on the mattress in a small pouch or pin it to sleepwear so it does not pull.
- Keep tubing slack. A little slack near the skin reduces tugging while you turn.
When Can a JP Drain Come Out?
Removal depends on procedure type, the look of the fluid, and daily volume trends. Patient education from major centers often references a 24-hour total near 25–30 mL as a common point to contact the team for next steps, with the final call made by the surgeon.
A study of closed-suction drains reported a median drain duration of 12 days (range 3–54), and typical patient-education pages note that many drains are removed within about two weeks. Longer duration can increase infection risk, so tracking output helps your provider choose the right day.
Even after finding out about how to remove a JP drain, do not attempt to do it on your own. Call your surgeon if output drops to your target range, if the bulb stops staying compressed, or if the drain falls out.
 Red Flags and When to Call
Jackson-Pratt drain care instructions always include clear red flags. Providers ask you to call if you see signs of infection or if drainage suddenly changes.
Call right away for
- Fever of 101°F (38.3°C) or higher or chills.
- Increasing redness, heat, swelling, or pus at the insertion site.
- Bright red drainage that fills the bulb quickly.
- No drainage with a firm clot you cannot move by gentle milking if instructed.
- Cracked tubing or a bulb that will not stay compressed.
Removal Day: What to Expect and What to Ask
Office removal usually takes seconds. You may feel pressure as the tubing slides out, and then a small dressing is placed. Keep the site clean and dry for the first day and avoid soaking until the incision fully closes. Education materials explain that slight redness or a small amount of clear or pink drainage can be normal after removal, but you should call for spreading redness, heat, or fever.
Bring your output log. Ask about driving, bathing, lifting, and scar care. If you were searching for JP drain removal instructions, your team will tailor the plan to your surgery and healing pattern.
Frequently Asked Questions
How often should I change my JP drain dressing?
Change your JP drain dressing once daily or sooner if wet or soiled. Clean the skin with soap and water, dry completely, and apply new gauze and tape. Support the bulb to prevent tube tension. Check the site daily for redness, warmth, odor, or signs of infection, and contact your care team if symptoms worsen.
What not to do with a JP drain?
Avoid letting the JP drain bulb dangle, pulling the tubing, or submerging the site in water. Keep the bulb below the incision, maintain a dry bandage, and use clean hands during care. Report sudden red drainage, bulb malfunction, or signs of infection like heat, swelling, or pus immediately.
Should I milk my JP drain tube?
Milk your JP drain tube only if instructed by your care team. Gentle milking helps move clots and maintain flow, especially before emptying the bulb. Stop if you feel pain or resistance, and never tug the tube. Call your provider if drainage stops or clots do not clear.
Get Skilled Wound Care at Home
Consistent home health care services in New York help you keep drains clean, logs accurate, and red flags caught early. At Revival Home Health Care, we offer skilled nursing visits, wound assessments, and support for medication and safety planning during recovery at home.
One-on-one teaching shows you how to empty the bulb, change dressings, and know when to call the surgeon. Contact us today to schedule a visit or ask about next-day start of care for post-surgery support.
 75 Vanderbilt Ave Staten Island, NY 10304
 info@revivalhhc.org
 718.629.1000